
Deburring Methods: Ten Ways to Remove a Burr, and How to Choose One
Every cutting operation leaves a burr. The question is not whether to deburr, but which of the four energy sources can reach the edge you have, at the tolerance you need, without moving the part.
A burr is plastically deformed metal pushed past the intended edge. It forms because no cutting tool is infinitely sharp: the tool edge has a radius, and below a certain depth of cut the material is displaced rather than sheared. The same mechanism that makes machining possible makes burrs unavoidable.
That is why deburring is a process decision, not a finishing detail. The choice of method fixes the edge radius, the surface integrity, the cycle time and, in the case of parts with cross-drilled holes, whether the burr can be reached at all.
Three variables decide how big the burr is
Before choosing a removal method it is worth reducing the burr at source. Three parameters control it:
- Material ductility — 304 stainless and aluminium form a rolled-over burr that folds back on the surface; grey cast iron and hardened tool steel form a small, brittle burr that breaks off during cutting.
- Tool edge radius — a worn carbide insert with a 50 µm edge radius pushes metal instead of shearing it. The burr grows with tool wear, not with feed rate.
- The last pass — a light finishing cut with a sharp tool and a positive rake produces a smaller burr than a heavy roughing pass followed by a spring pass. On a CNC, the exit-side burr is usually larger than the entry-side one, and the corner where two edges meet carries the largest burr on the part.
Reducing the burr at the tool cuts deburring time by 30–50 % in most shops. It does not eliminate the operation, because the acceptance criterion is usually a specific edge radius or a maximum burr height, not “as small as possible”. That criterion belongs with the surface finish specification, not on a separate note.
Four energy sources, ten methods
Every deburring method belongs to one of four families, defined by how it delivers energy to the burr. The family matters more than the machine name, because it sets what the process can reach and what it does to the surface underneath.
Table 1. The four families of deburring energy.
| Family | How it removes metal | Reaches | Leaves behind |
|---|---|---|---|
| Mechanical, hard contact | A harder tool cuts or abrades the burr: file, scraper, carbide blade, CNC chamfer tool | Line of sight only | Tool marks, possible micro-cracks |
| Mechanical, compliant contact | Abrasive media conforms to the edge: belt, brush, vibratory bowl, tumbling barrel, abrasive flow | Line of sight for belts; internal for flow media | Compressive residual stress, rounded edge |
| Electrochemical | Anodic dissolution at the burr, which sits closest to the cathode tool | Anywhere the electrolyte flows | No mechanical stress, no heat; hydrogen risk on high-strength steel |
| Thermal | A fuel-oxygen flame in a sealed chamber burns the thin burr in 20–30 ms | Every exposed surface at once | Oxide film, possible thermal damage on thin sections |
The methods, in the order they are usually considered
Table 2. Ten deburring methods compared.
| Method | Typical burr removed | Cycle time | Best for | Limitation |
|---|---|---|---|---|
| Hand filing / scraping | 50–200 µm | Seconds per edge | One-off parts, repair | Operator dependent, cost scales with edges |
| Abrasive belt / brush | 20–80 µm | Seconds | Flat and convex edges, weld prep | Rounds the edge, cannot enter holes |
| CNC chamfer tool | 30–100 µm | In cycle | Prismatic parts on a 3-axis mill | Needs a tool path; blind corners missed |
| Robot deburring | 30–150 µm | Seconds | Large or repetitive castings | Programming cost, force control needed |
| Vibratory finishing | 10–50 µm | 20–120 min | Batch parts, edge break and polish | Rounds sharp corners, media lodges in holes |
| Tumbling / barrel | 10–50 µm | 1–8 h | Small parts in bulk | Slow, noisy, edge radius hard to control |
| Abrasive flow (AFM) | 5–20 µm | 1–10 min | Cross-drilled holes, internal passages | Tooling per part, medium is consumable |
| Electrochemical (ECD) | 5–25 µm | 5–60 s | Hardened steel, intersecting holes | Cathode tooling, electrolyte treatment |
| Thermal (TEM) | Up to 100 µm | 20–30 ms | Complex castings, inaccessible burrs | Sealed chamber, oxide removal afterwards |
| Laser / waterjet | 10–50 µm | Seconds | Hard or brittle parts, selective edges | Capital cost, heat or taper effects |
Where the burr is, not how big it is
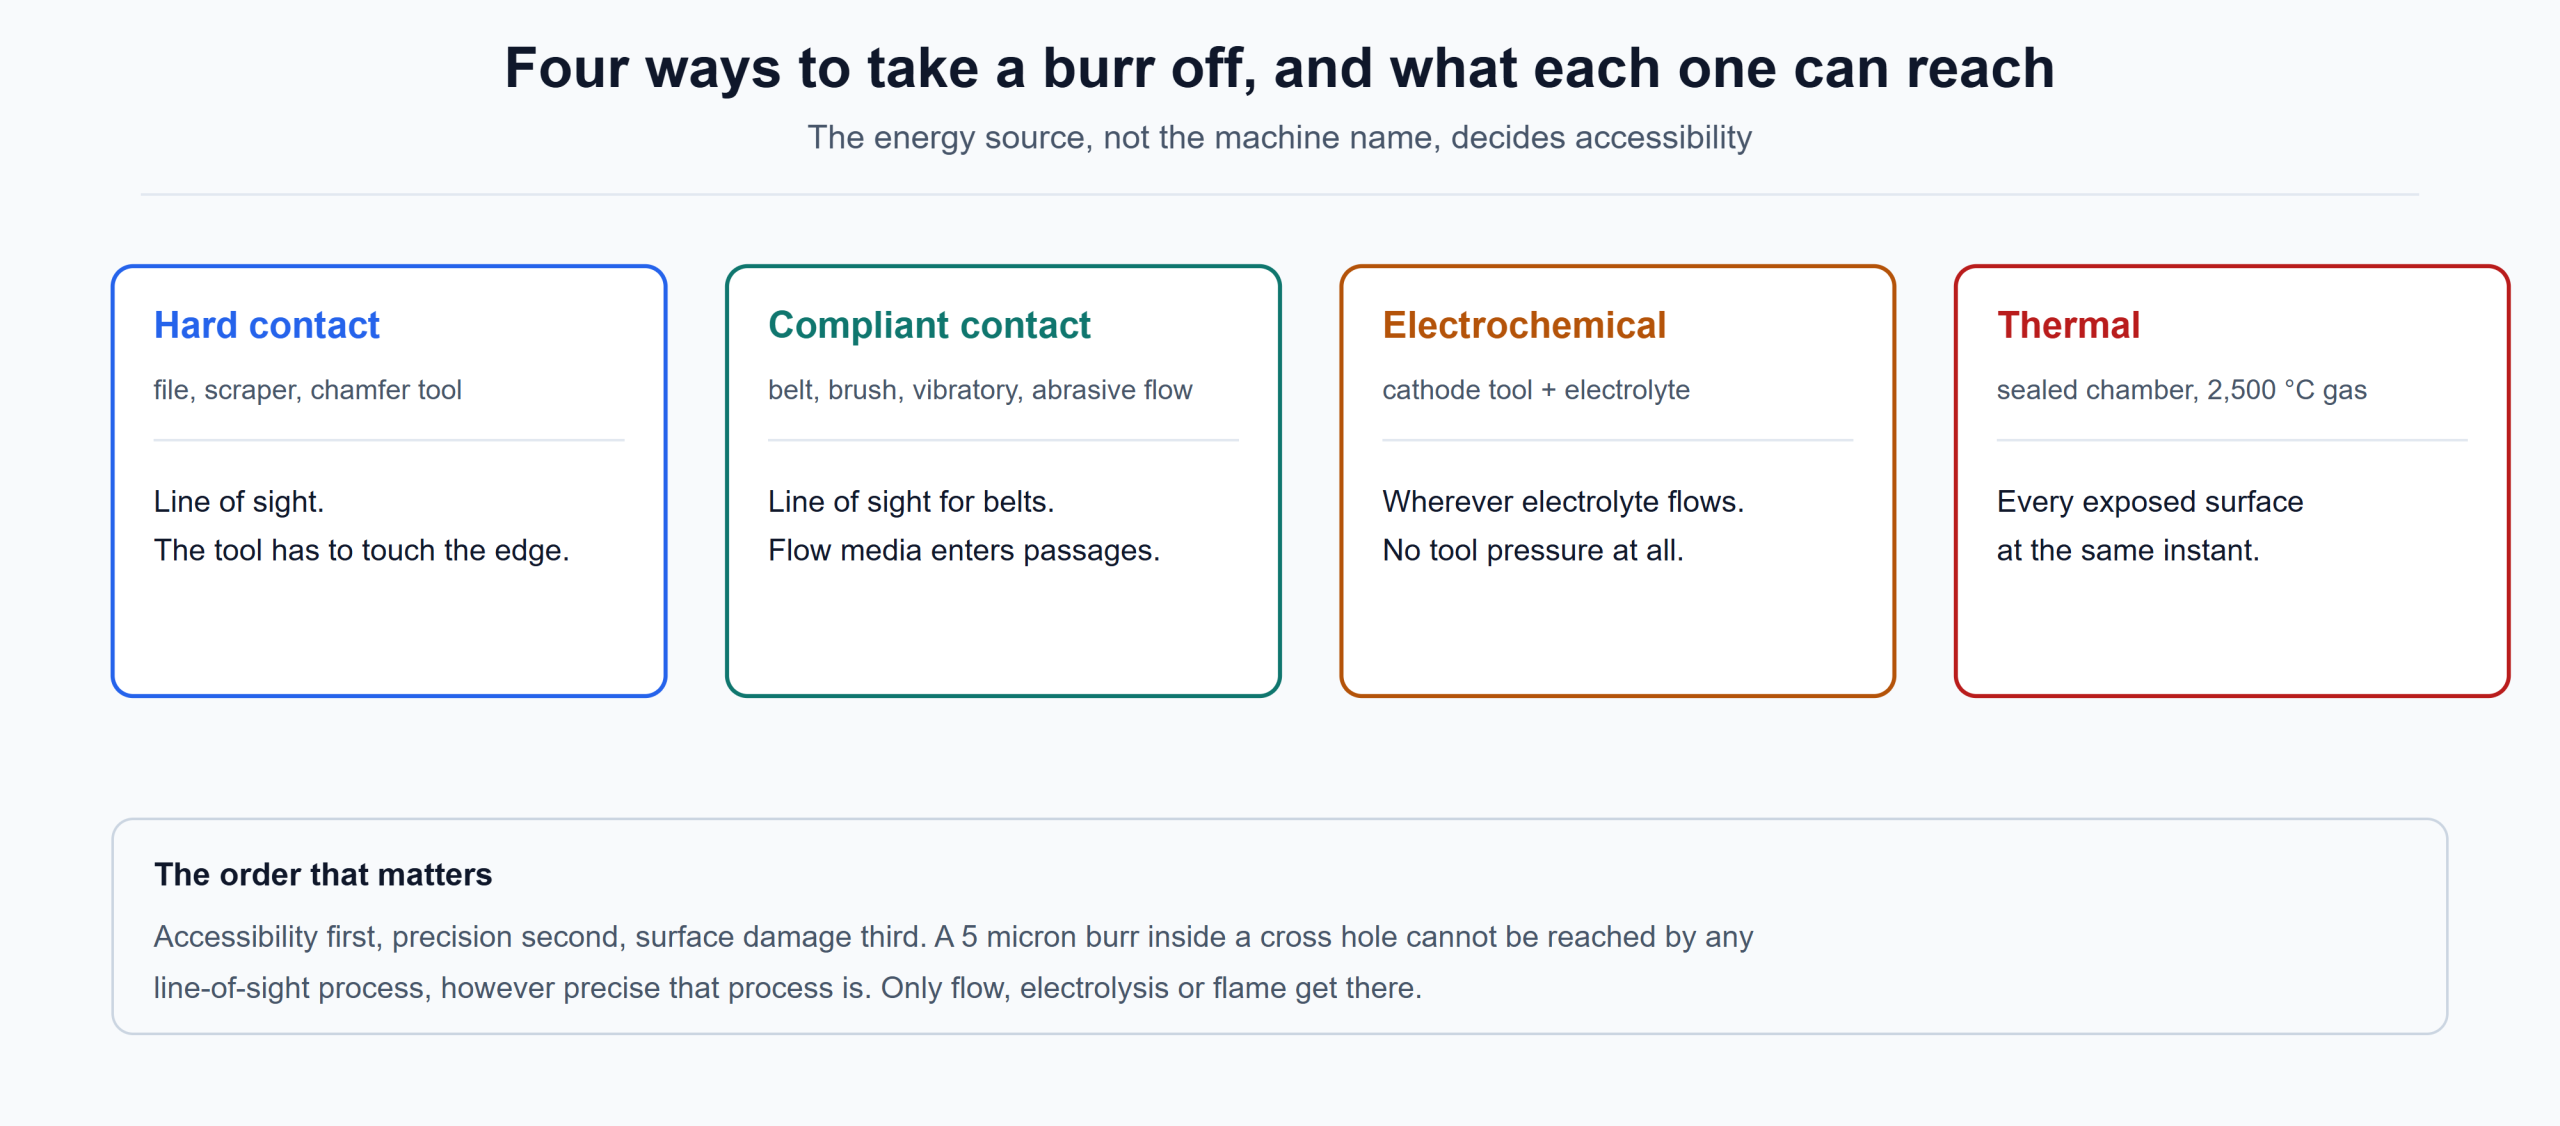
The first question is accessibility, not precision. A 5 µm burr at the intersection of two drilled holes cannot be reached by any tool that has to be pushed along a line of sight. That single fact removes eight of the ten methods above and leaves three: abrasive flow, electrochemical, and thermal.
The second question is what the process does to the rest of the part. Electrochemical deburring dissolves the burr and, at the same time, dissolves a small amount of the adjacent surface — acceptable on a 20 mm wall, less so on a 1 mm one. Thermal deburring burns the burr and leaves an oxide film that has to be removed by a second operation if the part is going into a clean application.
Choosing: a short decision path
Work down this list. The first line that matches is usually the cheapest answer.
- Burr on an external edge of a plate or bar, tolerance loose — belt or CNC chamfer tool, in cycle.
- Burr on a batch of small parts with no critical edges — vibratory finishing, 30–60 minutes.
- Burr in a cross-drilled hole or an internal passage — abrasive flow; if the part is hardened, electrochemical.
- Burr on a complex casting that cannot be reached at all — thermal deburring, then a descale.
- Burr on a sealing face or a bearing seat — do not deburr with an abrasive. Use a CNC chamfer with a controlled edge radius, because the radius is part of the function. Where the edge also has to be polished, turned, ground and polished stock may remove the operation altogether.

What to write on the drawing
“Deburr all edges” is not a specification. It gives the shop no acceptance criterion and the inspector no measurement. Three lines do the job:
- The permitted burr height, for example maximum burr 0.05 mm on a sealing face or 0.1 mm on a general machined edge.
- The permitted edge break, for example 0.2–0.4 mm radius, which is a different requirement and needs a different method.
- The measurement method, for example visual against a comparator, or a profile measurement on the first part of each batch.
The cost of an unspecified edge
A hydraulic manifold with a 0.1 mm burr at a cross hole will pass a dimensional inspection and fail a pressure test intermittently, because the burr folds over the port under flow. The deburring operation that would have prevented it costs less than the test bench time spent chasing the failure.
Frequently asked questions
What is the difference between deburring and edge breaking?
Deburring removes the protruding metal; edge breaking replaces a sharp corner with a radius or chamfer, whether or not a burr was present. A part can be deburred and still have a sharp edge, and it can be edge broken without removing a burr that sits inside a hole.
Can deburring be done in the CNC cycle?
For external edges on prismatic parts, yes, with a chamfer tool or a spring-loaded deburring tool following the same tool path. Internal intersections and blind corners still need a separate operation.
Does deburring affect fatigue life?
It can double it or halve it. Removing a burr from a stressed edge eliminates a stress concentration, which helps. Abrasive deburring that leaves a scratch across the edge, or electrochemical deburring that leaves a hydrogen-charged surface on a high-strength steel, does the opposite.
Which method suits stainless steel?
Mechanical methods work, but the burr on austenitic stainless is tough and work-hardens under a dull tool — the same behaviour described in the martensitic stainless machining guide, one grade family over. Electrochemical deburring is often preferred for cross holes in 316 because it does not work-harden the edge and leaves no tool marks. Where the edge is round rather than sharp, centreless polishing gives a consistent radius along a bar.
Related reading
- Stainless Steel Surface Finish Types — how 2B, BA, No.4 and HL are specified across four standards
- 3Cr13 Machining Guide — tool wear and work hardening on a martensitic grade
- CNC Machining Services — what a machining supplier can hold on an edge
- Turned, Ground and Polished — when the stock arrives with the edge already finished
- Centreless Polishing — consistent radius and finish along a bar
You get chemical composition, mechanical properties and a price — with inspection certificates to EN 10204 3.1 issued against the heat number.